
Taking on a major home renovation is one of the most rewarding endeavors a homeowner can pursue, but it is also notoriously fraught with challenges. Anyone who has ever attempted a large-scale remodel knows the typical horror stories: budgets that balloon out of control, timelines that stretch months past their deadlines, and the immense mental strain of managing chaotic construction zones.
The vast majority of renovation failures do not stem from poor craftsmanship or bad intent. Instead, they are the direct result of operational breakdown—mismanaged schedules, poor sequencing of trades, miscommunication, and inadequate preparation. Construction is a complex dance where every single phase builds upon the success of the one before it. If you attempt to install finishes before your rough-ins are inspected, or if you bring in specialized trades out of order, the entire project can quickly grind to a costly halt.
To run a project seamlessly, you must shift your mindset from that of a passive customer to an active, organized project manager. Whether you plan to act as your own general contractor or simply want to oversee a hired team with confidence, having a structured, phase-by-phase system is essential. This comprehensive guide walks you through every critical stage of a comprehensive home upgrade, ensuring you keep contractors aligned, protect your financial investment, and complete your transformation with minimal stress.
Phase 1: Planning, Budgeting, and Permitting

Every successful renovation is won or lost long before a hammer strikes a single nail. The initial planning phase is where you define the structural vision, establish financial guardrails, and secure the legal permissions required to modify your property. Rushing through this stage almost guarantees costly mid-project changes and frustrating administrative delays later on.
Establish a Realistic Scope and Contingency Budget
Before contacting a single contractor, you must clearly distinguish between project necessities and optional upgrades. Create an exhaustive list of your core goals—such as fixing structural flaws, modernizing outdated systems, or expanding liveable square footage—and separate them from non-essential cosmetic desires.
Once you establish a target budget based on real market rates, you must immediately set aside a contingency fund. For standard renovations, reserve 15% of your total budget for unexpected issues. For older homes or complex multi-zone projects, increase that buffer to 20%. Common surprises hidden behind walls or under subfloors include:
- Unmapped electrical issues or outdated, non-code wiring
- Hidden structural water damage, rot, or mold
- Corroded or leaking pipework requiring replacement
- Subfloor sagging that demands additional joist reinforcement
- Unexpected presence of hazardous materials like asbestos or lead paint
Secure Zoning, Permits, and Approvals Early
Never underestimate the time required to clear municipal hurdles. Major structural changes, electrical panel upgrades, plumbing relocations, and exterior additions almost always require formal permits from your local building department.
- Review Local Zoning: Check set-back requirements, maximum lot coverage ratios, and height restrictions before finalizing exterior plans.
- Submit Detailed Plans: Work with an architect or designer to submit complete blueprints to your city’s planning office early, as plan reviews can take anywhere from two weeks to several months.
- Consult HOA Guidelines: If you live in a community governed by a homeowner association, submit your exterior material lists, colors, and site plans for board approval to avoid fines or forced tear-downs.
Create a Centralized Communication Hub
Efficiency relies on clear, traceable communication. Establish a dedicated digital folder or physical binder to store all project-related documentation in one place. Keep records of every contract, scope of work document, architectural drawing, permit copy, and insurance certificate. Set up a shared digital log or group messaging thread with your lead tradespeople so everyone operates from the exact same daily schedule and site rules.
Phase 2: Heavy Site Preparation and Outer Structures
Once plans are approved and contracts are signed, work shifts outdoors to heavy site preparation. Preparing your grounds correctly ensures that all subsequent structural work rests on a stable, safe, and properly drained foundation.
Sequence Earthwork Before Exterior Construction Begins
Before any structural footings are poured or new outdoor living areas are constructed, the site must be properly cleared, graded, and excavated. Proper earthwork prevents future foundation settlement and directs surface water away from your home’s foundation.
When preparing your property for massive layout shifts or additions, hire a professional excavation contractor to handle precision digging, soil compaction, and site leveling. Heavy machinery operators must map out subterranean utility lines with local locator services prior to breaking ground to avoid severe line strikes. Furthermore, ensure that the site layout allows adequate clearance for heavy machinery to maneuver without damaging surrounding trees, existing driveways, or neighboring properties.
Design Outdoor Living Zones to Match Interior Workflows
Outdoor entertainment areas should act as seamless transitions from your home’s interior spaces. However, because hardscaping requires massive material deliveries and wet concrete pours, its installation must be carefully timed within the broader master construction sequence.
If your renovation involves long-term hardscaping improvements, such as building custom stone or concrete patios, ensure all underground utility lines—such as gas conduits for outdoor kitchens, electrical feeds for low-voltage lighting, and primary drainage pipes—are laid in the ground before the surface layers are poured or paved. Pouring hardscapes too early in the construction timeline risks damage from heavy equipment used during subsequent phases of the house project.
Phase 3: Building Envelope and Structural Upgrades
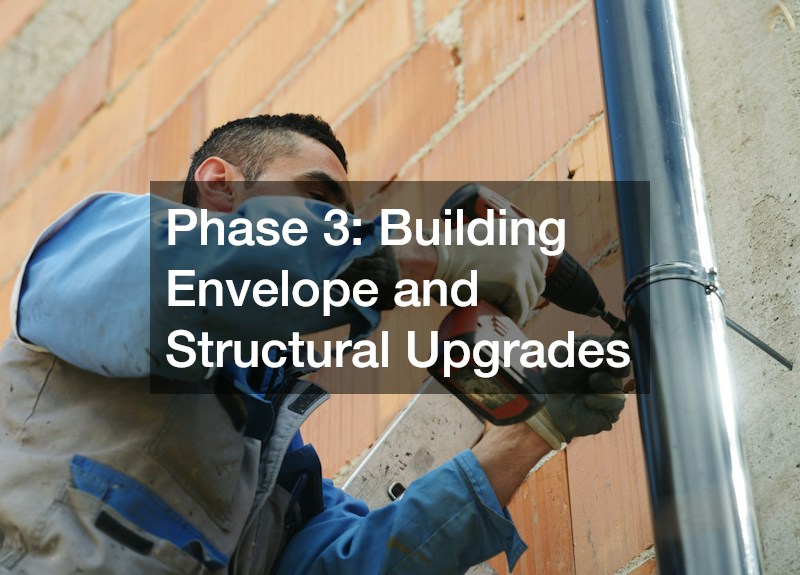
With the site prepped and ground utilities laid, attention moves to the building envelope. Protecting the interior of your home from weather damage is paramount before exposing walls or tearing out old mechanical systems.
Weatherproof the Structure Before Interior Demo
Never begin major interior demolition until you are 100% certain the home’s outer shell is watertight. A single unexpected rainstorm during interior framing can ruin exposed subfloors, create mold conditions, and delay work for weeks.
When modifying rooflines, adding skylights, or fixing historical water damage, hire a licensed roofing contractor to inspect, repair, or completely replace the overhead barrier system. The roofing team should coordinate closely with your framing crew to seal all new roof penetrations, step-flashings, and gutter connections immediately after structural changes are framed.
Upgrade Energy Efficiency Early to Avoid Retrofitting Costs
Upgrading your home’s thermal envelope reduces ongoing utility costs and protects your interior finishings from humidity fluctuations. The best time to upgrade windows, doors, and insulation is during structural framing, before interior wall cavities are closed up.
Timing is critical when ordering materials for a comprehensive window replacement across your property. Custom exterior windows and large glass slider doors frequently carry long manufacturing lead times ranging from 6 to 12 weeks. Schedule these material orders early in your planning phase so the units arrive exactly when your framing crew is ready to open up wall sections. Securing a tight, well-insulated thermal envelope early prevents outdoor moisture from entering the home while trade teams complete work indoors.
Phase 4: Rough-In Mechanicals, Plumbing, and Electrical
Once the house is fully sealed against the weather, interior work moves into the “rough-in” phase. This is when the fundamental infrastructure of your home—plumbing pipes, electrical wiring, and HVAC ductwork—is routed through wall studs and floor joists.
Map Out In-Wall Utilities Before Drywall
Rough-in work requires precise coordination between multiple tradespeople working in tight spaces. Because plumbing lines require specific gravity-fed slope ratios and large clearances, they generally take precedence over electrical wires and ductwork within wall cavities.
To avoid costly spatial conflicts behind the walls, bring in a qualified local plumber to map out all supply, waste, and vent lines before other utility teams begin their runs. Proper trade sequencing during rough-ins ensures that major drain lines, shower valves, and water supply points are positioned precisely according to your interior design plans.
Wire Heavy Machinery and Custom Equipment Safe Systems
Modern homes demand significantly more power than older properties were designed to deliver. From induction cooktops and high-capacity HVAC units to workshop machinery, electric vehicle charging stations, and custom automotive setups, electrical demands must be thoroughly calculated during the rough-in stage.
For complex electrical systems, specialized machinery feeds, or custom automotive equipment rooms, make sure your electrician installs a properly rated electrical harness or custom pre-engineered wiring assembly. Clean, organized wiring runs bundled systematically through structural studs reduce electrical noise, pass municipal trade inspections faster, and make future system troubleshooting infinitely easier.
Phase 5: Life Safety and Specialized Living Extensions

With fundamental utilities routed, focus turns to whole-home safety systems and major property amenities. Integrating these features into the core infrastructure ensures compliance with modern safety codes and seamlessly connects indoor control hubs to exterior features.
Integrate Modern Whole-Home Safety Networks
A comprehensive home renovation must prioritize the safety of its occupants. Modern building codes require interconnected safety systems that trigger throughout the entire house if a hazard is detected in any single room.
Instead of relying on basic battery-operated units, hire a certified fire alarm company to design and install a hardwired, interconnected system. During the wall-open phase, technicians run low-voltage wiring for:
- Interconnected smoke detectors in every bedroom and hallway
- Carbon monoxide monitors near all sleeping areas and fuel-burning appliances
- Heat sensors in garages, attics, and kitchens
- Centralized smart-home monitoring panels that alert local emergency services automatically
Coordinate Complex Outdoor Installations with Main Mechanicals
If your master plan includes major outdoor water features, secondary buildings, or complex backyard leisure installations, their mechanical systems must be tied directly into your home’s primary electrical panels and main water lines.
If your project involves an in-ground water facility, coordinate with your pool builder early in the rough-in phase to align utility trenches and equipment pad locations. Running electrical sub-panels, gas lines for heaters, and main auto-fill water connections before final landscaping saves thousands of dollars compared to tearing up finished yards later.
Phase 6: Interior Finishes, Wet Areas, and Final Trade Coordination
With all rough-in work inspected and approved by municipal officials, wall cavities are filled with insulation and closed up with drywall. At this stage, the project shifts from heavy structural work to precision interior finishes.
Execute High-Detail Interior Spaces in Strict Sequence
Wet areas, particularly kitchens and bathrooms, require the highest level of trade coordination due to the sheer concentration of plumbing, electrical, and custom tile work within a small footprint.
When undertaking a complete bathroom remodeling project, adhere strictly to a logical finish sequence to protect high-end materials:
- Waterproofing: Apply continuous liquid or sheet waterproofing membranes over cement board in all shower and tub enclosures.
- Tile Installation: Lay wall and floor tiles, followed by precise grouting and sealant applications.
- Vanity and Cabinetry: Install cabinetry level and plumb against finished tile or drywall.
- Countertop Fabrication: Template, cut, and set solid-surface tops once cabinetry is fully secured.
- Fixture Trim: Mount light fixtures, mirrors, towel bars, and glass shower doors as final steps.
Manage Final Mechanical Trim and Subcontractor Punch Lists
As drywall, paint, flooring, and cabinetry near completion, trade specialists return for the “trim phase.” This is when utility connections are finalized, decorative trim plates are installed, and operating systems are tested under full pressure.
Schedule a thorough walkthrough with your main plumber to connect sink drains, install decorative faucets, hook up dishwashers, and conduct high-pressure leak tests across all newly installed supply lines. Keep a detailed digital punch list during these final walkthroughs to document minor cosmetic touch-ups, missing trim hardware, or adjustments needed before final contractor payouts are released.
Best Practices for Managing On-Site Teams

Even with a perfect schedule, managing human teams on a construction site requires active leadership, clear expectations, and consistent oversight.
Enforce Daily Site Protocols
To protect your property and keep work moving smoothly, establish clear jobsite rules before work begins:
- Working Hours: Set explicit start and end times that comply with local noise ordinances.
- Property Protection: Require contractors to lay floor protection (such as heavy cardboard or Masonite sheets) along high-traffic indoor walkways.
- Daily Clean-Up: Require trades to sweep work areas and haul away trash daily to prevent safety hazards.
- Material Staging: Designate a specific, dry area in the garage or driveway for storing raw materials and tools safely.
Hold Weekly Progress Meetings
Schedule a recurring 30-minute meeting every Monday morning with your general contractor or primary trade leads. Use this time to review the upcoming week’s schedule, confirm material delivery dates, resolve unexpected spatial conflicts, and approve any formal change orders in writing before extra work begins.